Adobe Photoshop CC 2018 is a program that allows you to freely edit photos as well as create graphics. In this tutorial, I'll be going over the most basic tools used.
The program itself costs $20/mo, but if you buy their photography plan, which also includes lightroom(a photo managing workspace), it's only $10/mo, which is what I currently use. I'd recommend getting the photography plan instead of just the app.
After downloading Photoshop, open it up. You should see a menu like this:
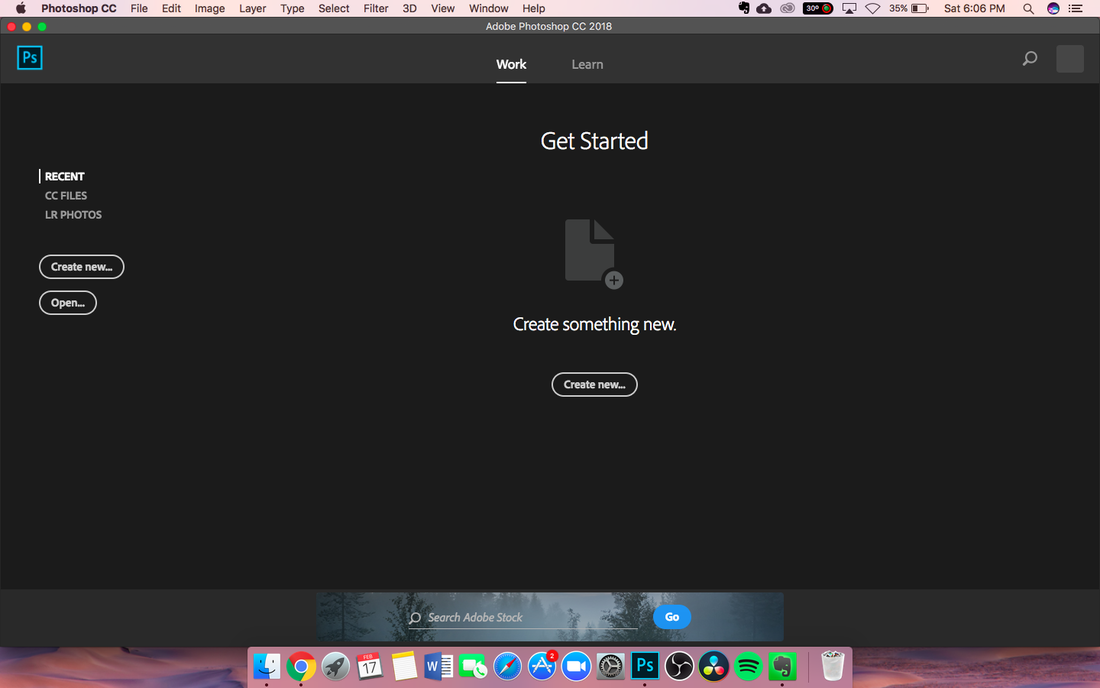
This is the start page. Here, there are a few options. I'll go through each of them.
The first one, at the top, is the Work/Learn bar. When you switch to the learn bar, Adobe has provided a bunch of free tutorials. Those are helpful as well as interesting.
On the left we have five options: Recent, CC Files, LR Photos, Create New, and Open.
Recent shows files that you've recently opened. CC Files shows files that are stored in the Creative Cloud. If you have Photoshop on one device and want to send it to another device that also has Photoshop, you'd use this option.
LR Photos are photos stored in Lightroom. I haven't used lightroom that much but I'm beginning to use it. It's a photo managing/simple editing program for photographers that comes with the Photography plan.
Create New and Open are straightforward. If you'd like to create a new document, use the Create New button. If you want to edit an existing photo, use the Open button.
If you've used Photoshop a little bit before, but want to follow this tutorial, follow these instructions: At the top, select Window => Workspace => Essentials(Default).
Now, we're going to edit a photo. I used this one, but you can use whatever you want. Create a new document. You should see a menu like this:
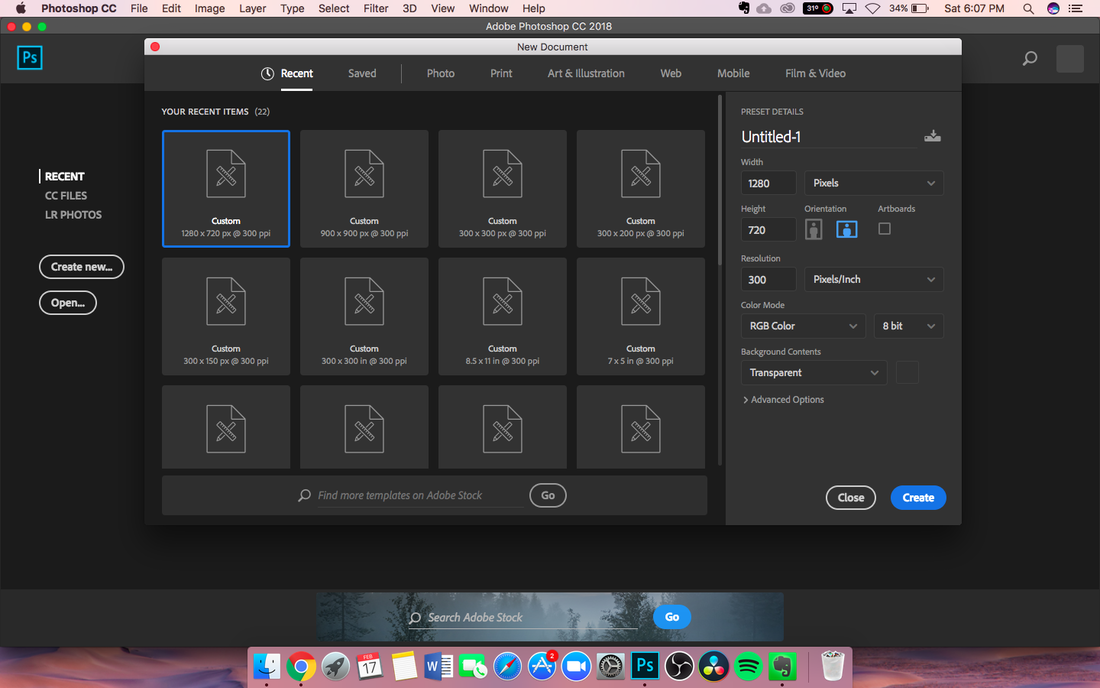
I have a lot more presets since I've used Photoshop a lot. You may not have any. On the right side, use the same settings I have: 1280x720 pixels, 300 ppi(pixels per inch), rgb color 8 bit, and transparent background. Next, click Create. You should see a screen like this:
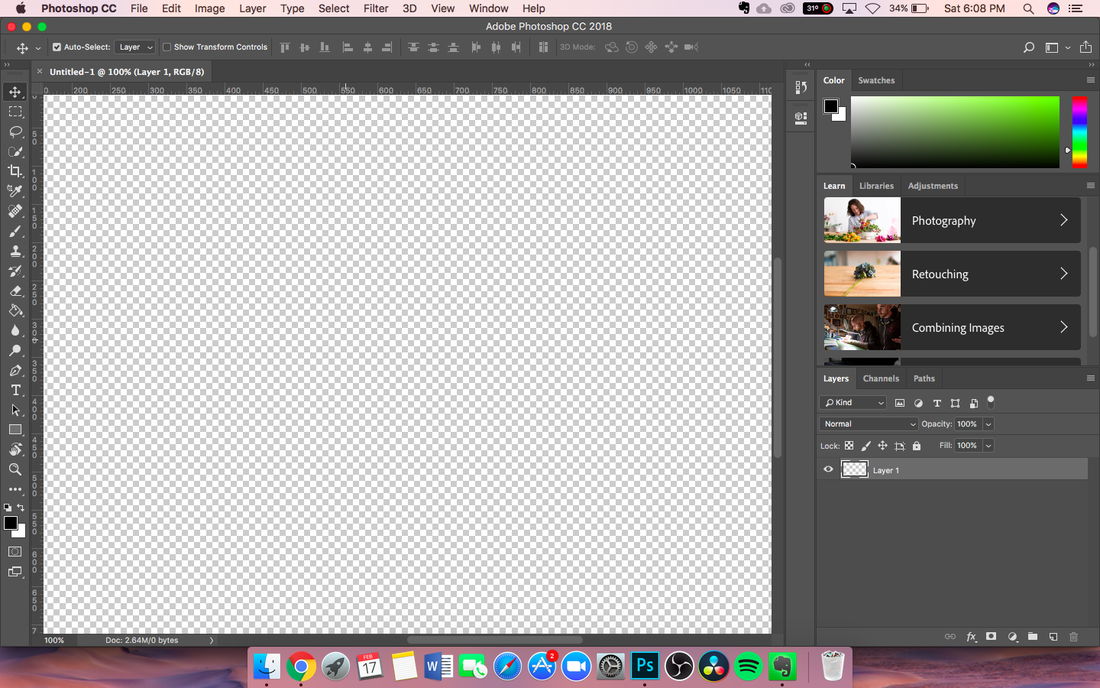
This is your workspace. It may look intimidating at first, but it's easy to get used to within a couple days.
On the top, we have our tool settings. This is where you can change the settings of the tools. On the left, we have the toolbar. These are all the tools used for photo editing. On the right, there's a panel called Layers. Layers are where you can select different shapes, text, images, and other graphics without editing the entire image.
In the center, we have our canvas. This is where we'll be using the tools. On the right, we have the layers panel, as well as some other unimportant things as well. The layers panel is where images, shapes, and text can be selected on different layers to edit the shape but not the text or the image but not the shape.
In order to zoom in and out of the canvas, you can press Command/Control + -/+. Try zooming out once by pressing Command/Control + -.
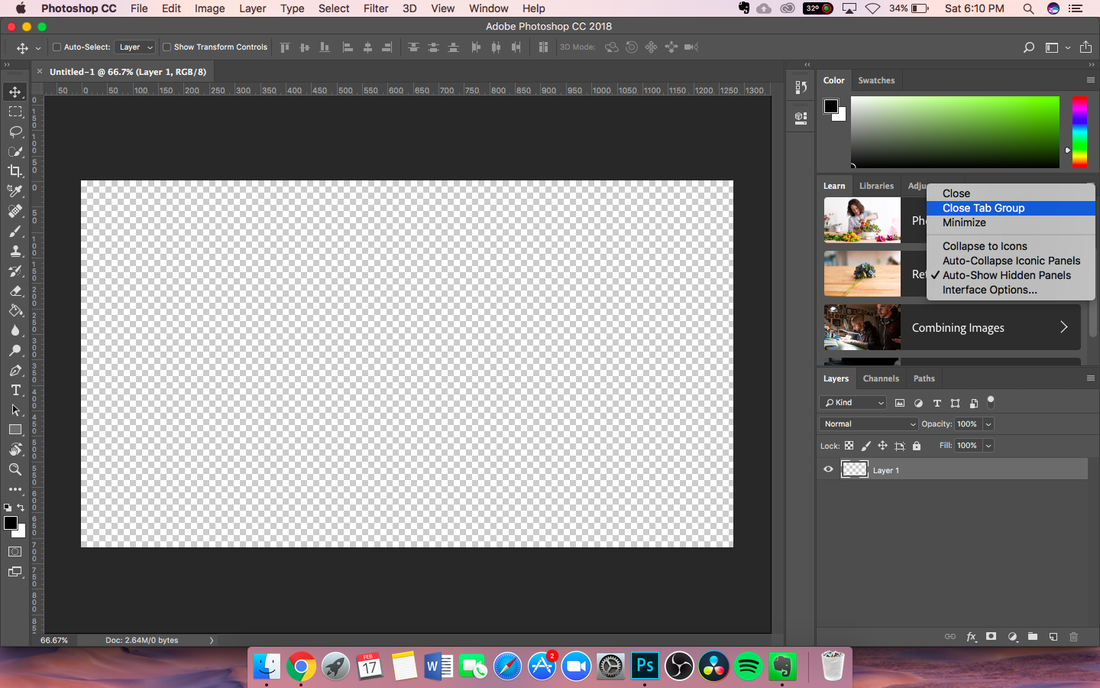
The first thing we want to do is get rid of the Learn tab. You can do this by hovering over the tabs, right clicking, and selecting Close Tab Group, like this:
On the top, we have our tool settings. This is where you can change the settings of the tools. On the left, we have the toolbar. These are all the tools used for photo editing. On the right, there's a panel called Layers. Layers are where you can select different shapes, text, images, and other graphics without editing the entire image.
In the center, we have our canvas. This is where we'll be using the tools. On the right, we have the layers panel, as well as some other unimportant things as well. The layers panel is where images, shapes, and text can be selected on different layers to edit the shape but not the text or the image but not the shape.
In order to zoom in and out of the canvas, you can press Command/Control + -/+. Try zooming out once by pressing Command/Control + -.
The first thing we want to do is get rid of the Learn tab. You can do this by hovering over the tabs, right clicking, and selecting Close Tab Group, like this:
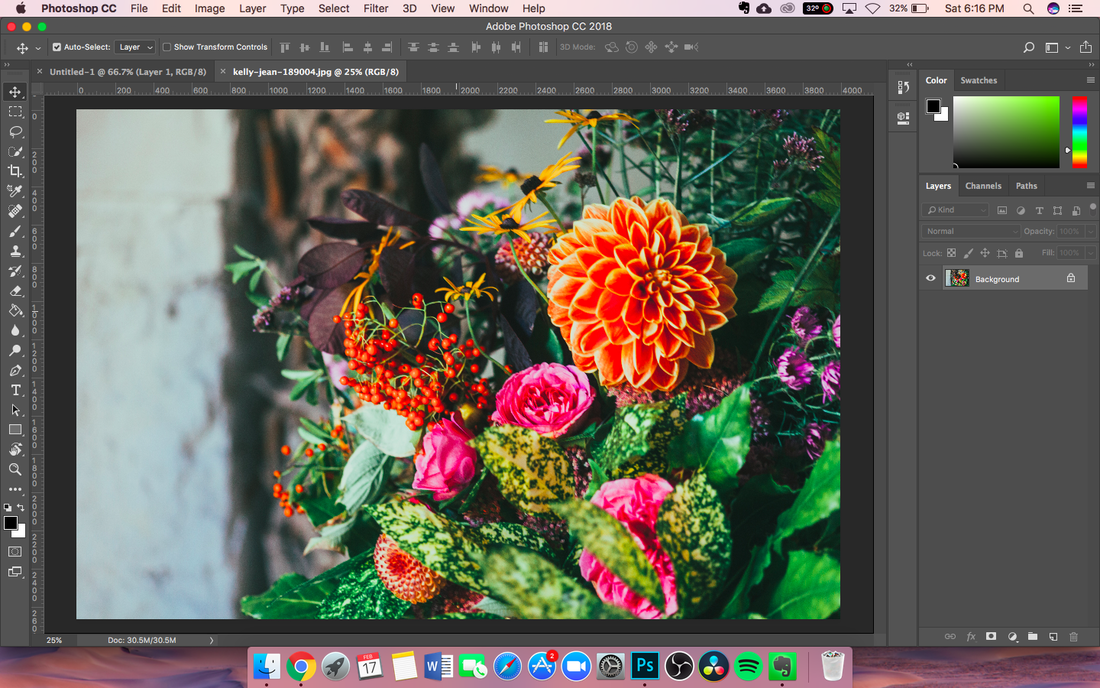
Next, we want to open up our photo. Press Command(Mac)/Control(Windows) + O to open up the file. Select it from the menu. After you've selected the image, you should see this:
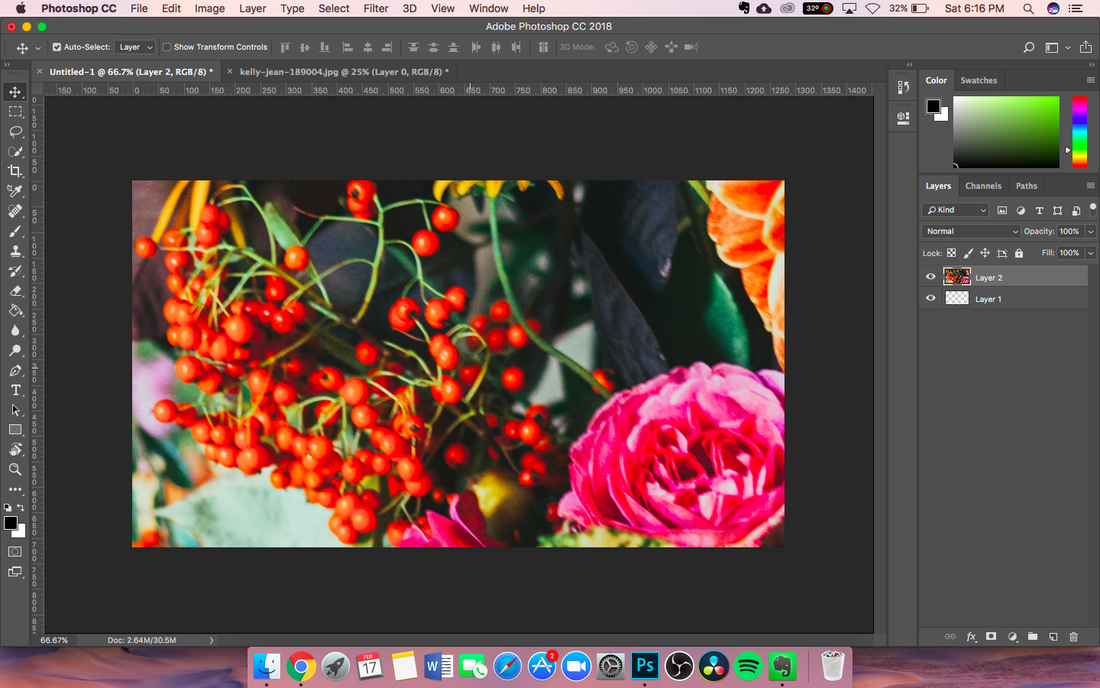
Next, we need to drag the image into our document. You can do this by: Going over to the layers panel, pressing on the lock icon to unlock the image, then clicking, holding, and dragging the image into the text labeled "Untitled-1". It should go back to the first document. While still holding the mouse down, drag the cursor into the center and release. The image should now be in the first document.
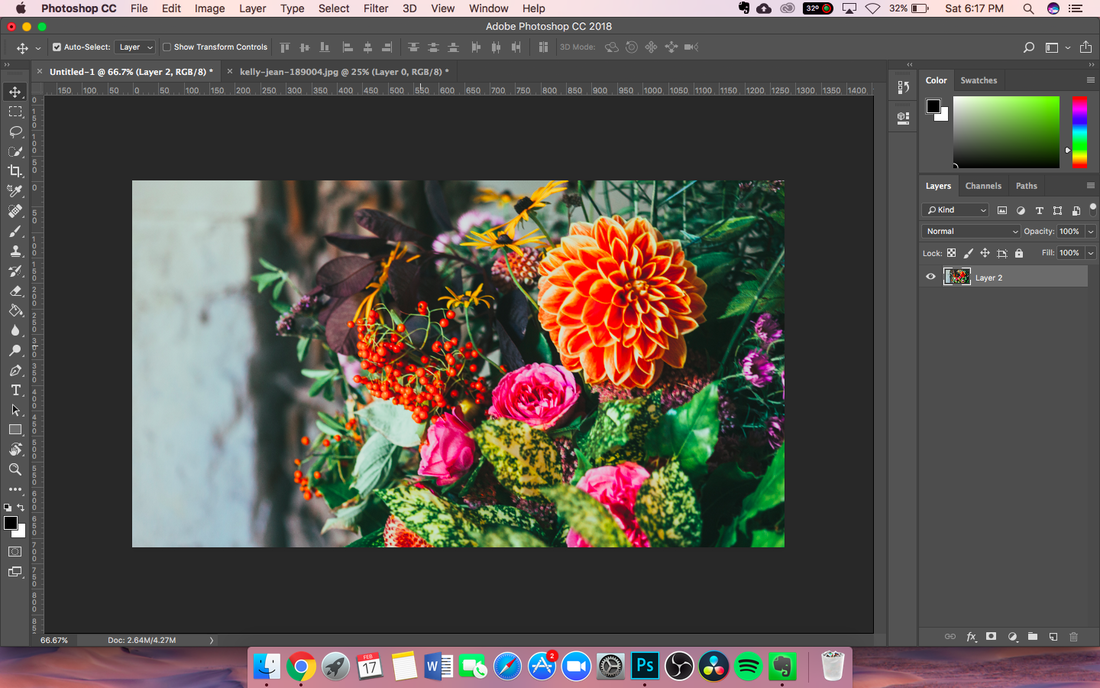
You'll notice pretty quickly that it's zoomed in too much. In order to fix this, zoom out five times, then press Command/Control + T. This puts the image into transform mode. You can now resize the image or rotate it using the handles on the outside of the image. To keep the image proportional, press and hold shift while dragging one of the corners to keep it proportional. When you've resized it, you can move it by selecting anywhere in the center of the image and dragging.
When you're done, press the check mark at the top of the screen. If you don't like the image, you can press the circle with a slash through it. If you've already pressed the check mark and then want to go back, press Command/Control + Z to go back one step or Command/Control + Option + Z to go back multiple steps.
You should now have an image like this:
Next, we're going to create an adjustment layer to adjust the colors of the photo. You can do this by going all the way up to the top and selecting Image => Adjustments.
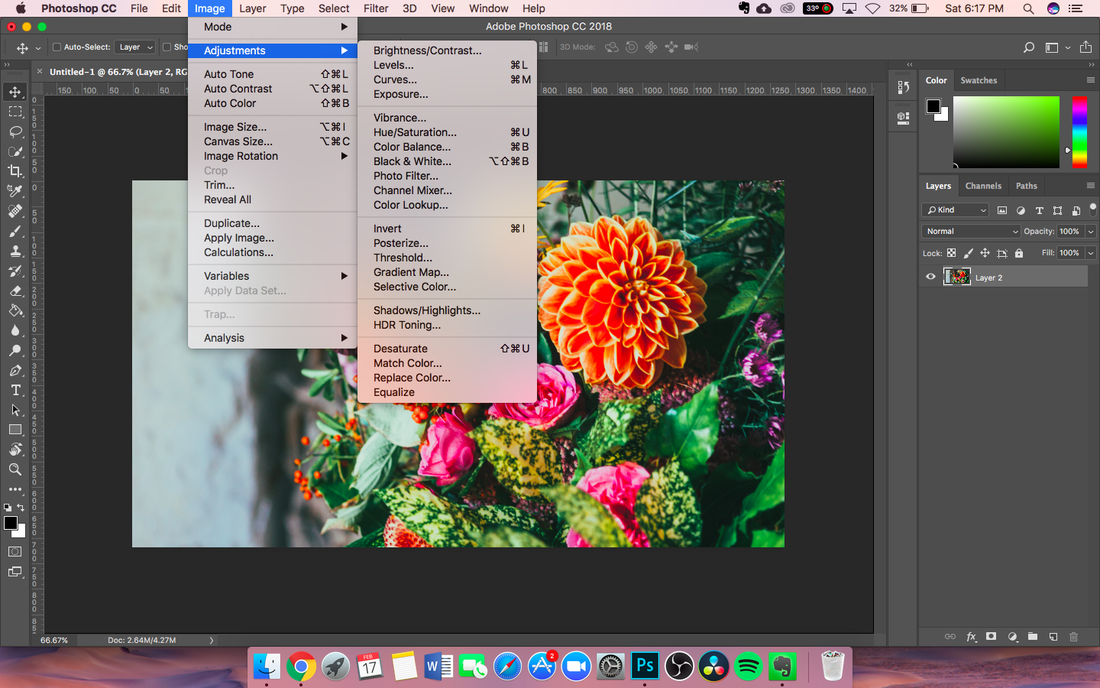
There are a lot of menus. Right now, select the first option: Brightness/Contrast.
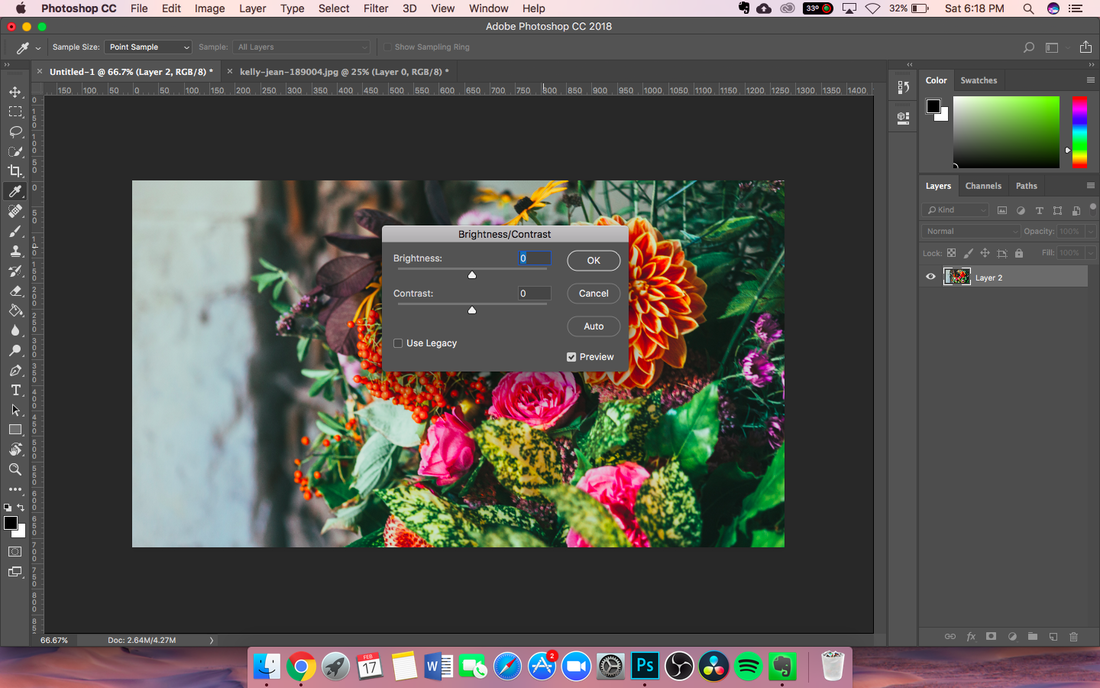
It should open up a menu like this. Here, you can drag the sliders to adjust the brightness of the image or the contrast in the image. Try it!
After you're done, go back to the same menu: Image => Adjustments. Next, select Vibrance. A menu like this should open:
After you're done, go back to the same menu: Image => Adjustments. Next, select Vibrance. A menu like this should open:
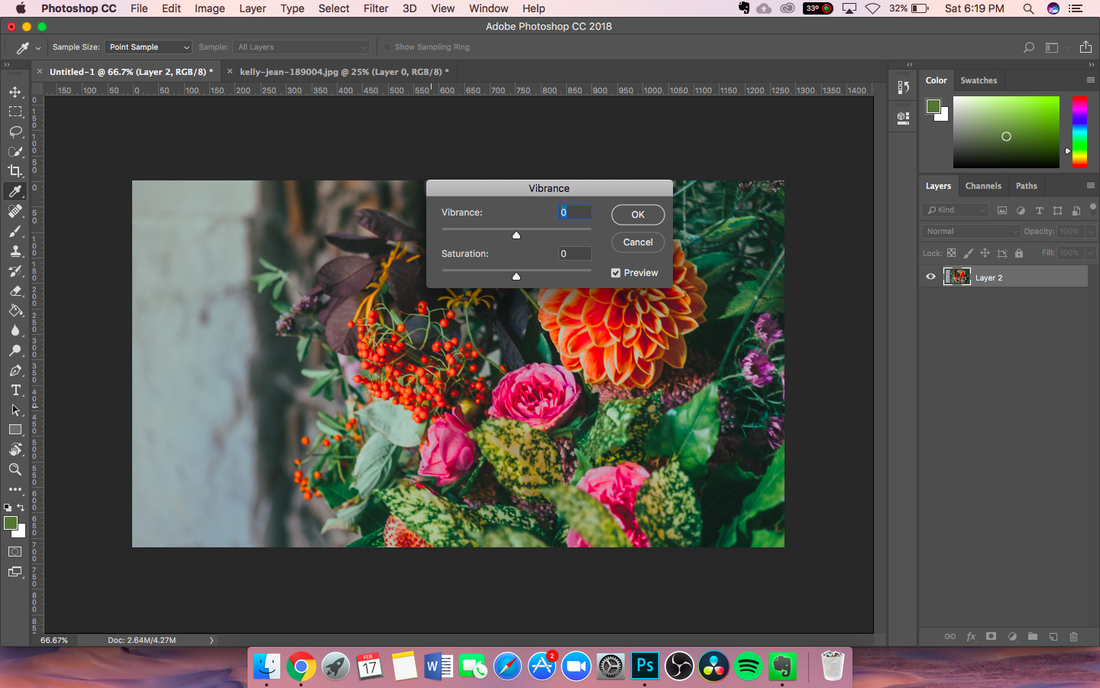
Here, you can adjust the vibrance and saturation of the photo. Drag the sliders to check it out!
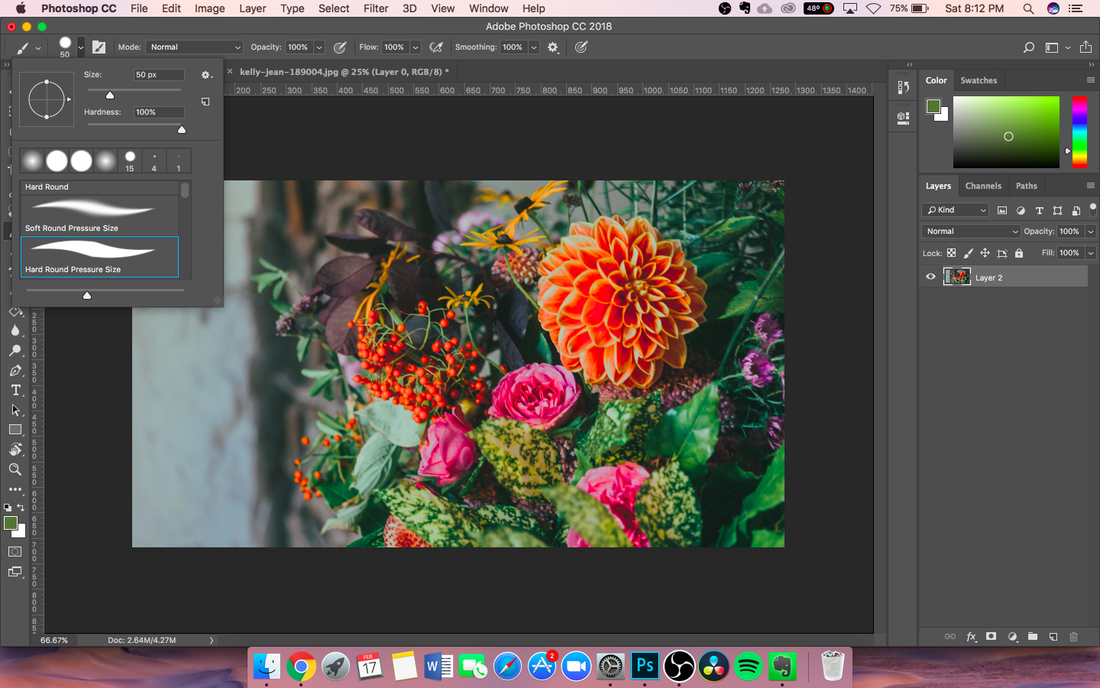
Next, we're going to be using the brush tool. You can access it by pressing b on your keyboard or looking through the toolbar until you find it.
Let's change the brush size a bit. As shown in the image above, there should be a dropdown arrow in the top lefthand corner. Click on it. It will open up a menu like shown. You can now use the sliders to adjust the size of the brush and the hardness of the brush.
When you're done, click the arrow again to exit the menu. Now, try drawing on the canvas with the brush tool by clicking, holding, and dragging your mouse across the canvas. If you want to change the brush size, you can press the bracket keys, [ and ], to adjust the size.
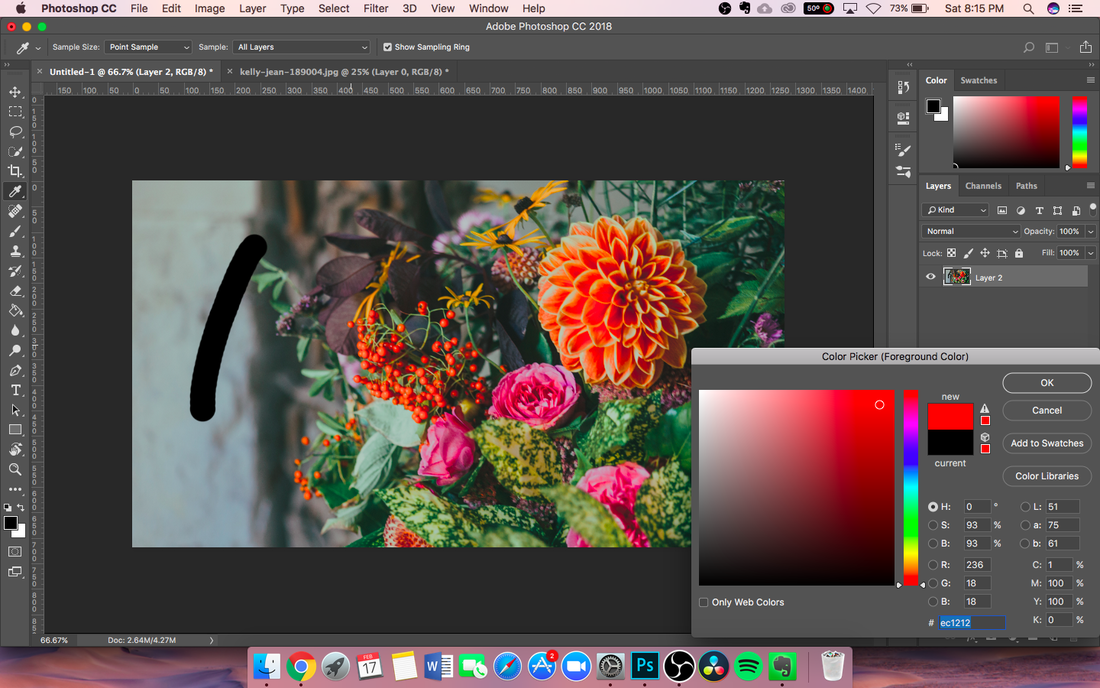
You can also change the color by clicking the small color palette at the bottom of the toolbar. There, you can select a color from the menu like shown on the bottom right. When you're done selecting, press "OK" to confirm the color change. You should now be able to draw in a different color.
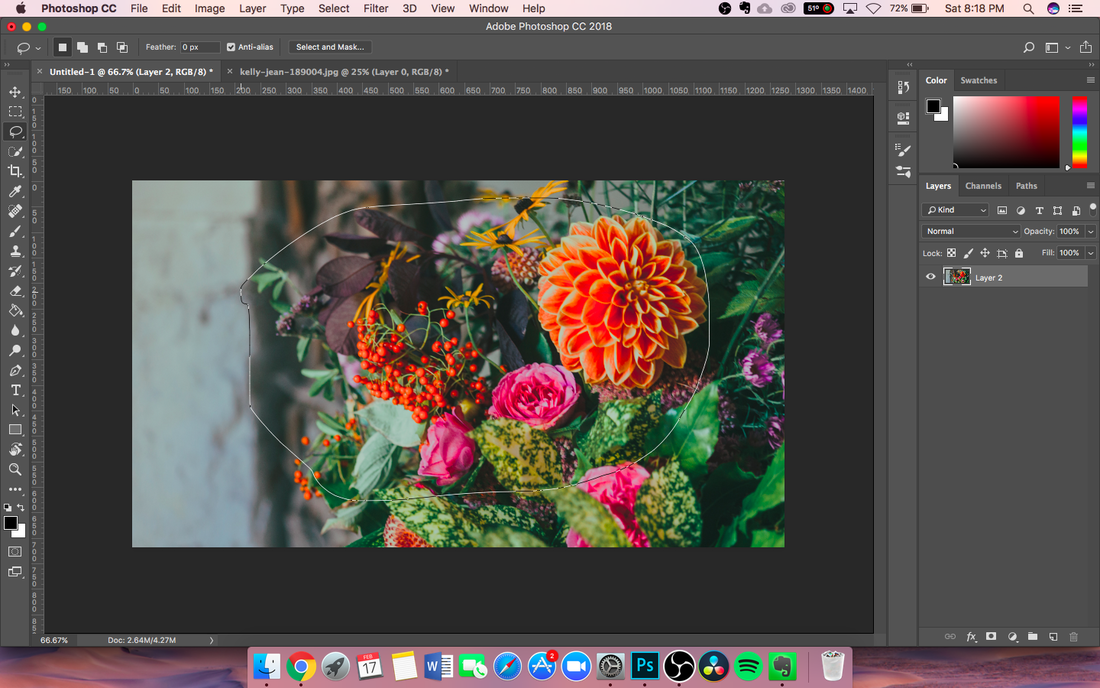
Next, we'll be using the lasso tool. It should be the third icon on the toolbar. In order to use the lasso tool, click, hold, and drag anywhere on the screen. This will create a selection. In order to complete the selection, you need to make both ends touch. Wherever you start, you need to finish as well. Finish the selection by taking your finger off the mouse.
The lasso tool is used to edit only parts of an image. After you've selected something, try using an adjustment layer. It should only edit whatever's in the selection.
The lasso tool is used to edit only parts of an image. After you've selected something, try using an adjustment layer. It should only edit whatever's in the selection.
Next, select the quick selection tool. It's one down from the lasso tool, so it should be pretty easy to find.
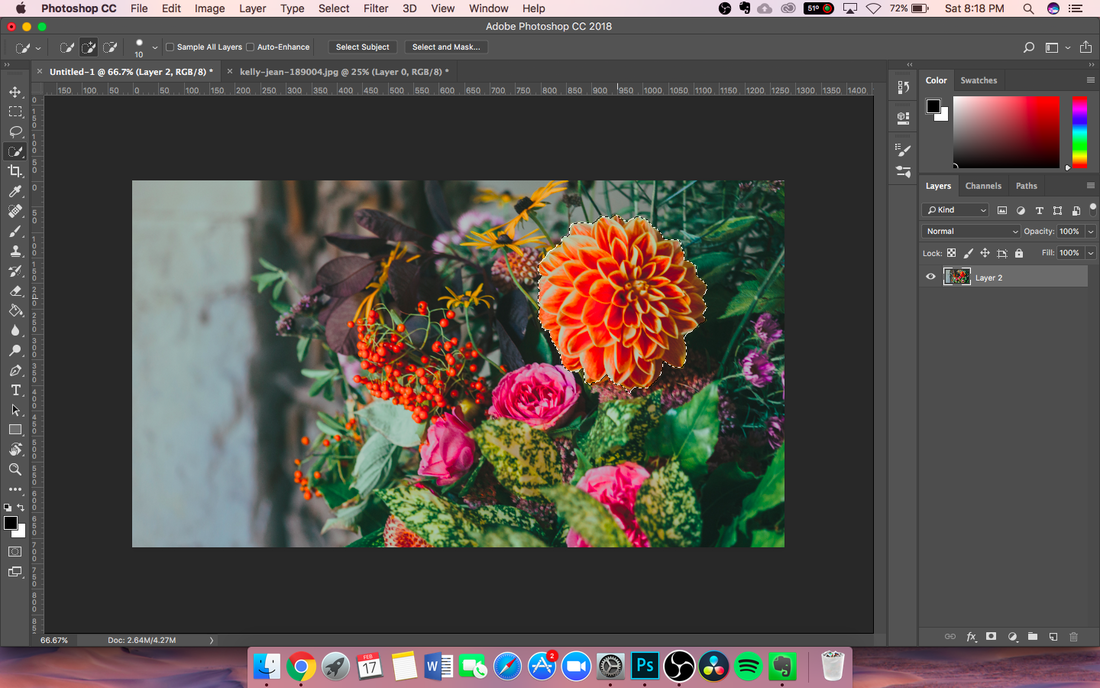
The quick selection tool selects things Photoshop renders as objects. It tries its best to select whole things, like an entire building or an entire flower. Try it on something in your image! I made a selection of the flower. You should see the outline on it.
If you've selected too much, press and hold the option key while dragging over parts you don't want to deselect.
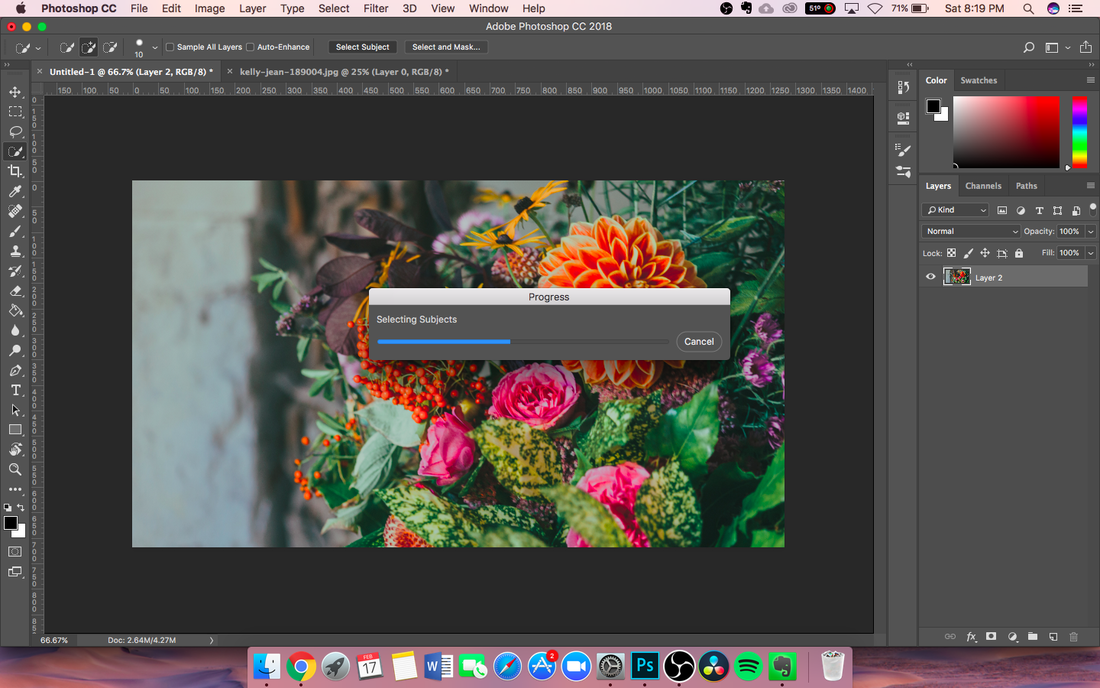
In Photoshop 2018, there's a new feature that Adobe added: Selecting Subjects. This can be done by going to Select => Select Subject or using the quick selection tool and pressing Select Subject from the menu bar.
Photoshop tries its best to attempt to select what it thinks is the most important part of the image. This is helpful if you have someone with longer hair, as it's hard to select every individual hair. However, a lot of the time it selects things that are unwanted. You can deselect parts by using the quick selection tool and holding option while holding and dragging your mouse over the unwanted parts.
Photoshop tries its best to attempt to select what it thinks is the most important part of the image. This is helpful if you have someone with longer hair, as it's hard to select every individual hair. However, a lot of the time it selects things that are unwanted. You can deselect parts by using the quick selection tool and holding option while holding and dragging your mouse over the unwanted parts.
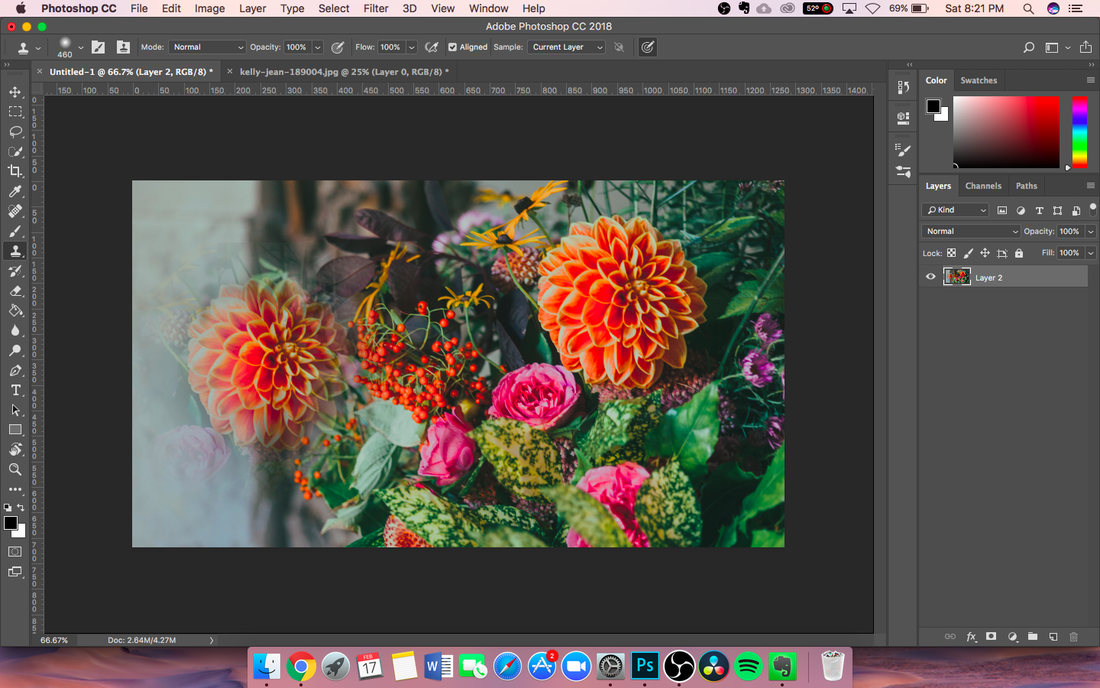
In the image above, I've used the Clone Stamp Tool. I have it selected in my toolbar so you should be able to locate it. It's right under the brush tool.
The Clone Stamp Tool takes a defined source that you can set and places it wherever you want. First, adjust the hardness of the tool just like you did with the brush tool, using the dropdown arrow at the top and using the slider. Next, adjust the brush size so it covers whatever you want.
Then, press option while clicking in the middle of your subject. It's now set as the source.
Try clicking somewhere else. You'll notice that it duplicates it. This is helpful if you want to have a big flower bouquet but only have a couple flowers.
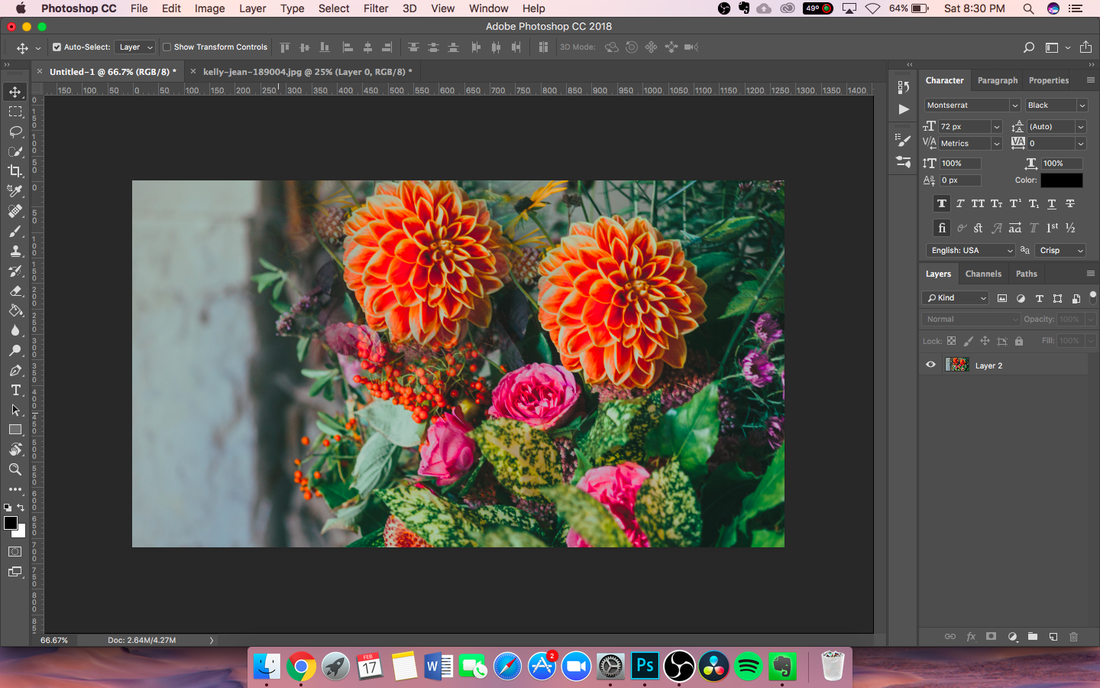
Our next tool is the type tool. You can get to it by pressing t on your keyboard or clicking on the "T" on the toolbar.
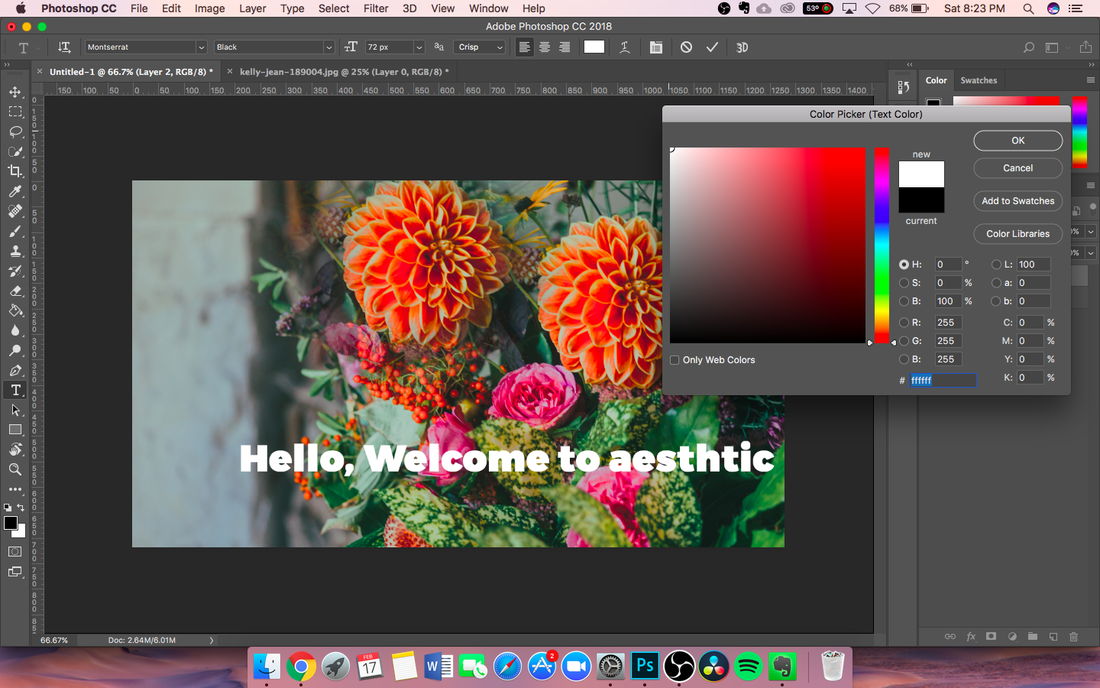
Click anywhere to type. At the top, you can change font size, font weight, spacing, row spacing, color, and much more, but you have to select text first in order to edit it. You can change the color by clicking on the colored rectangle at the top. Select a color you'd like and press "OK".
Click anywhere to type. At the top, you can change font size, font weight, spacing, row spacing, color, and much more, but you have to select text first in order to edit it. You can change the color by clicking on the colored rectangle at the top. Select a color you'd like and press "OK".
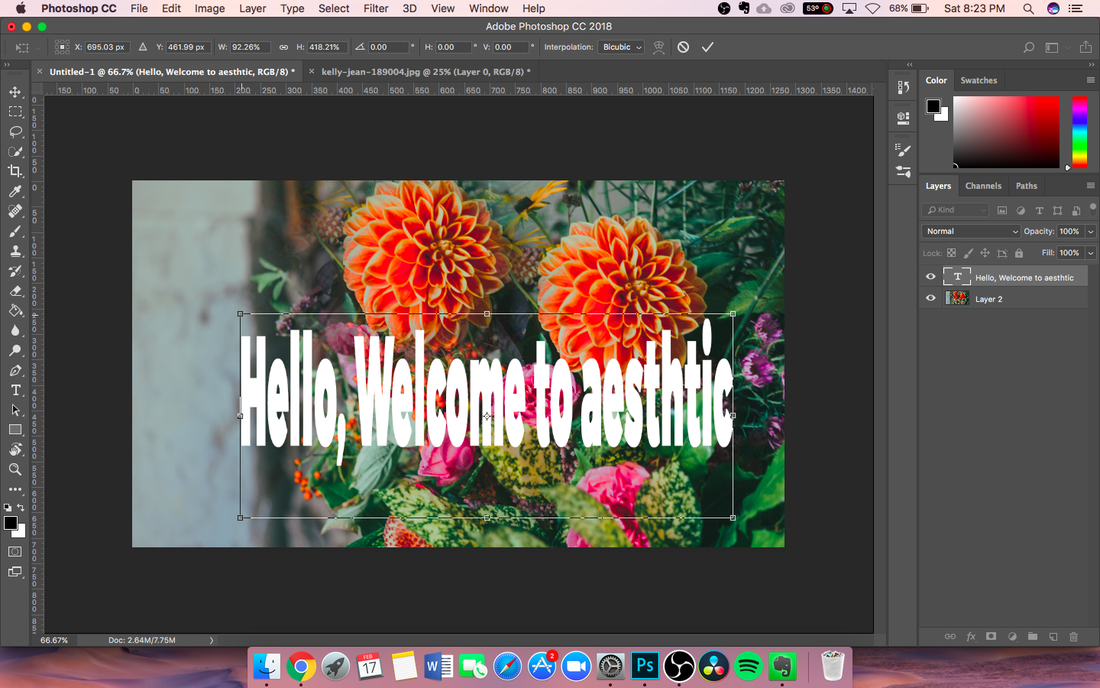
You can also change the dimensions of the text. Confirm the text by pressing the check mark at the top, then press Command/Control + T to enter transform mode. Then, use the handles on the corners and sides to change the dimensions. If you'd like to scale the text perfectly, press and hold shift while dragging one of the corner handles.
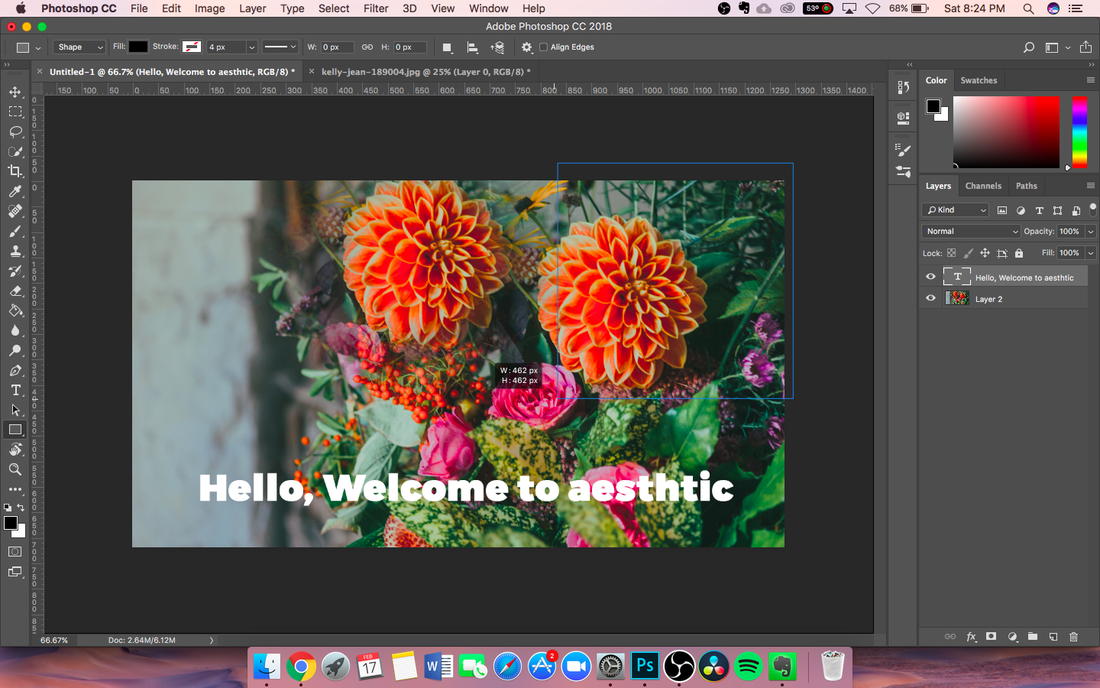
Our last tool that I'll be teaching you about is the rectangle tool. It should be towards the bottom and look like a rectangle. Click and hold anywhere to start drawing a rectangle. If you'd like a perfect square, then hold shift.
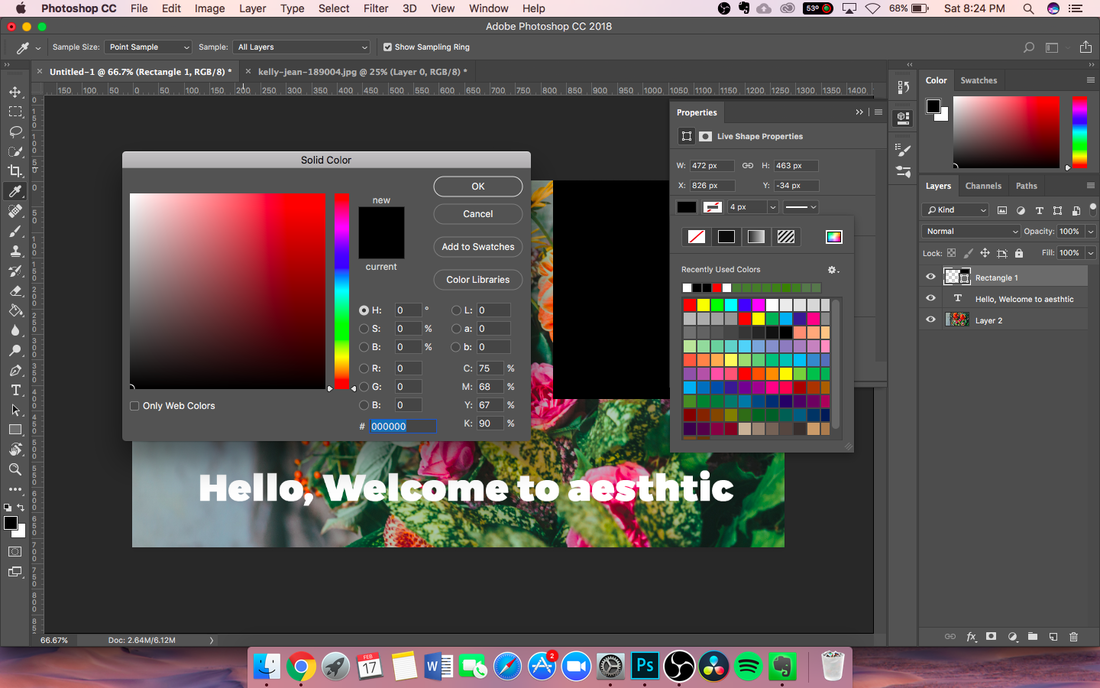
You should see a Properties panel pop up after you've made your rectangle. Change the color by pressing the colored square on the left, clicking on the rainbow colored square on the top right in the menu, then selecting a color and pressing OK. If you want to add a stroke, click the square on the right and repeat, then change the stroke thickness in the menu right next to the square.
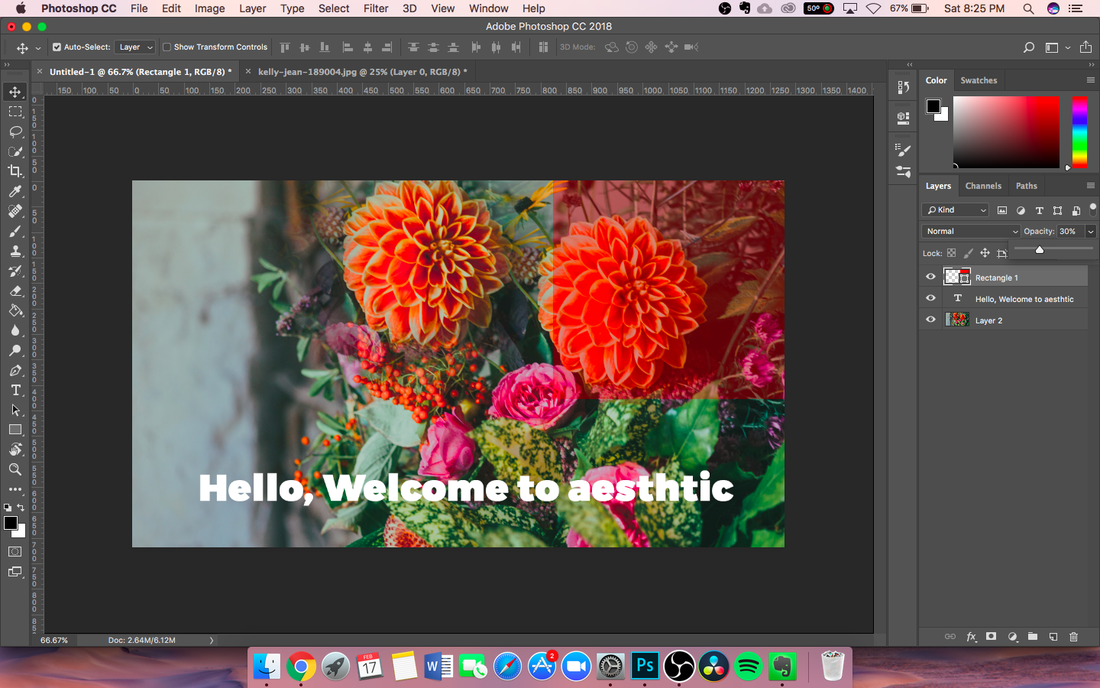
You can change the opacity of the square by clicking the arrow next to opacity on the right, as shown, then using the slider.
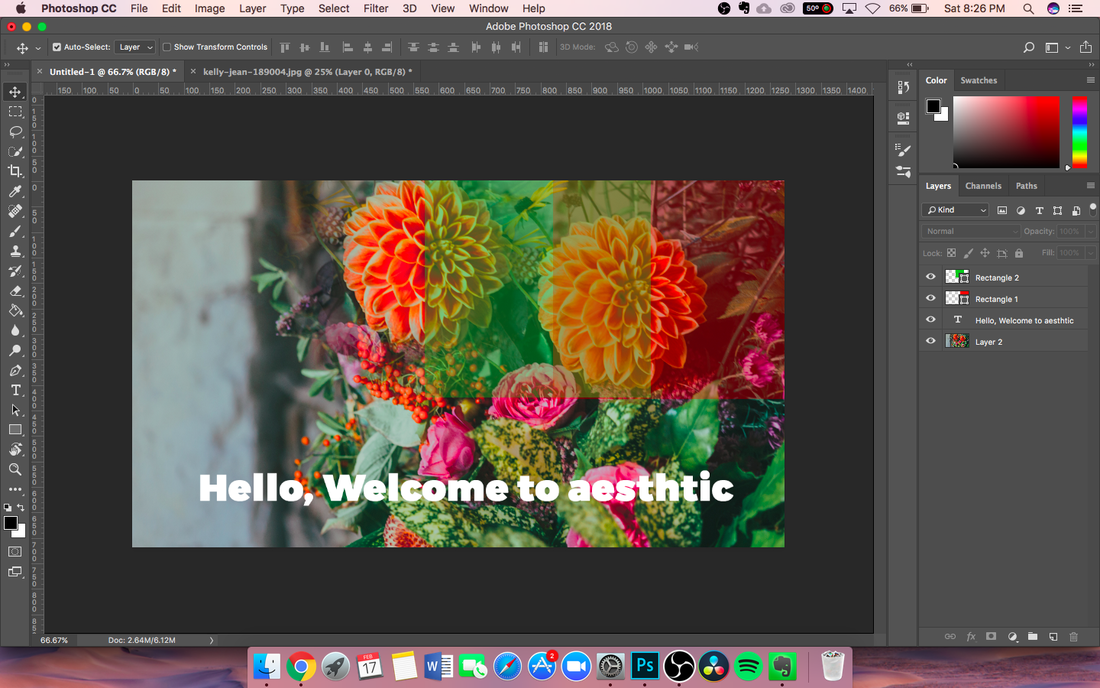
Create another rectangle, change the opacity, then use the move tool(V) to drag it over the red. You should see a different color in between!
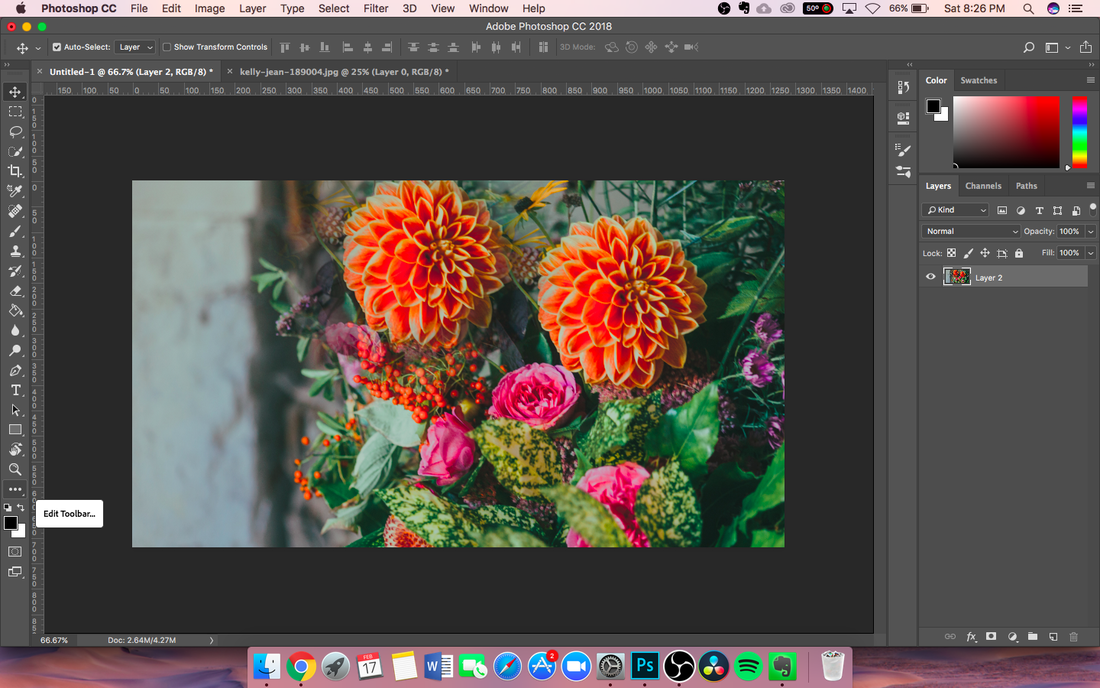
If you want to take out tools you don't think you're going to use, use the Edit Toolbar tool. Press and hold on the three dots on the bottom of the toolbar, then press edit toolbar.
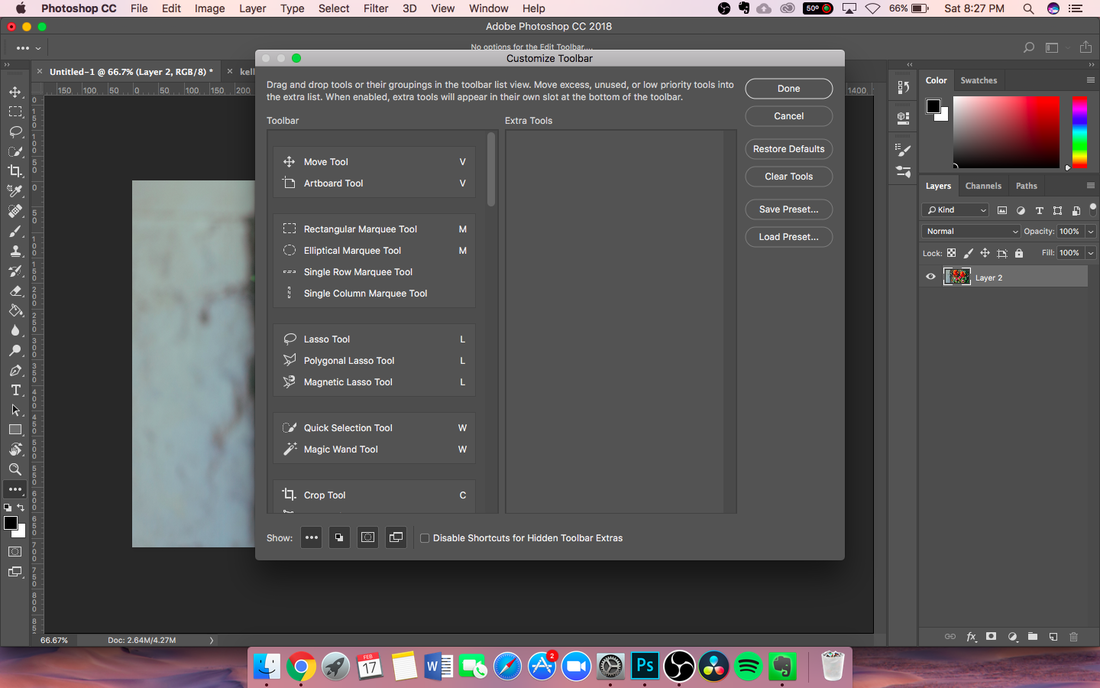
A menu like this should pop up. You can move tools and take them out by holding one of them and dragging it to the Extra Tools side.
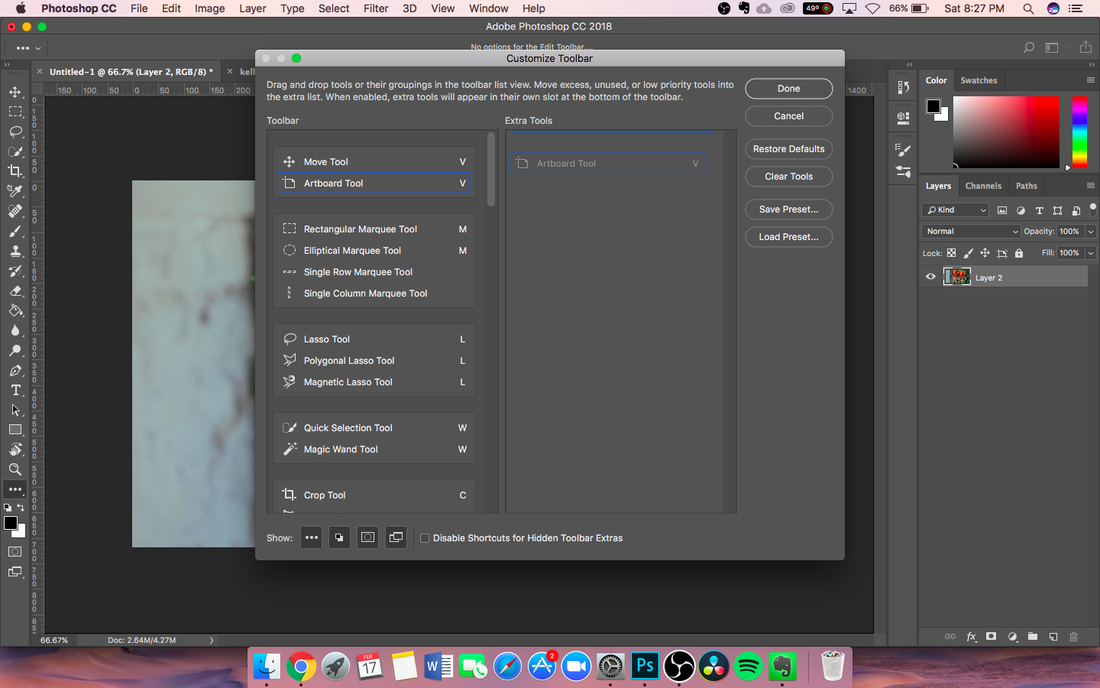
I wouldn't recommend moving any tools, but if you feel intimidated by all the tools, you can.
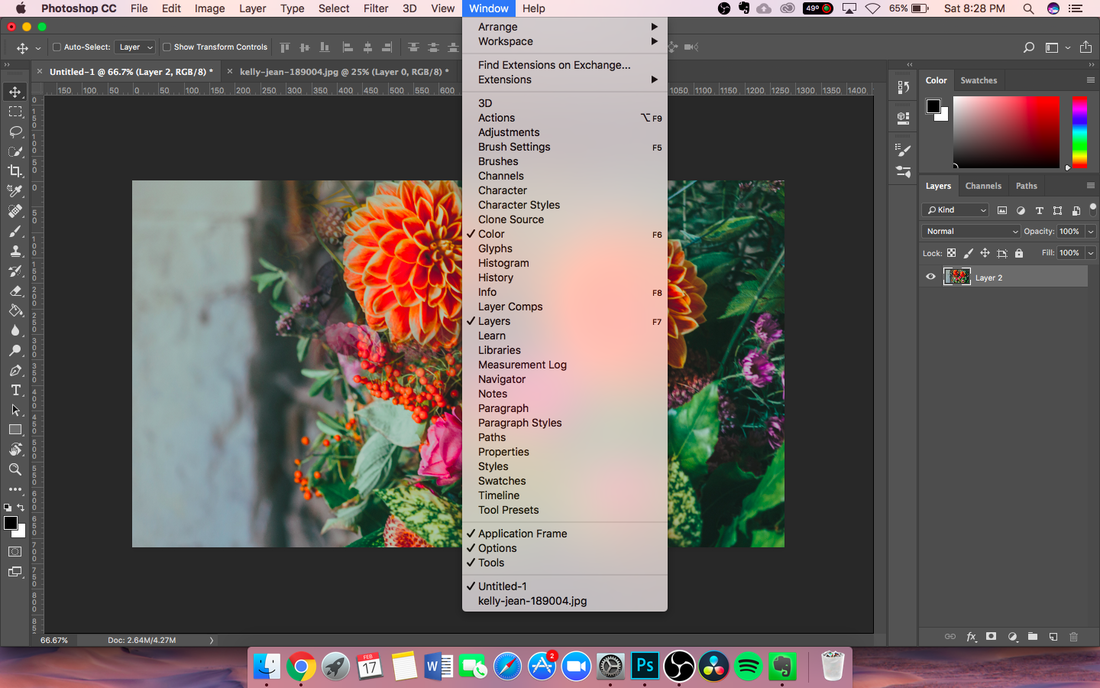
If you want to add more windows, click on Window at the top. All the options shown are menus that can be used. Try clicking on one that doesn't have a check mark next to it, then remove it by repeating the process.
This is my regular layout, if you'd like to copy mine.
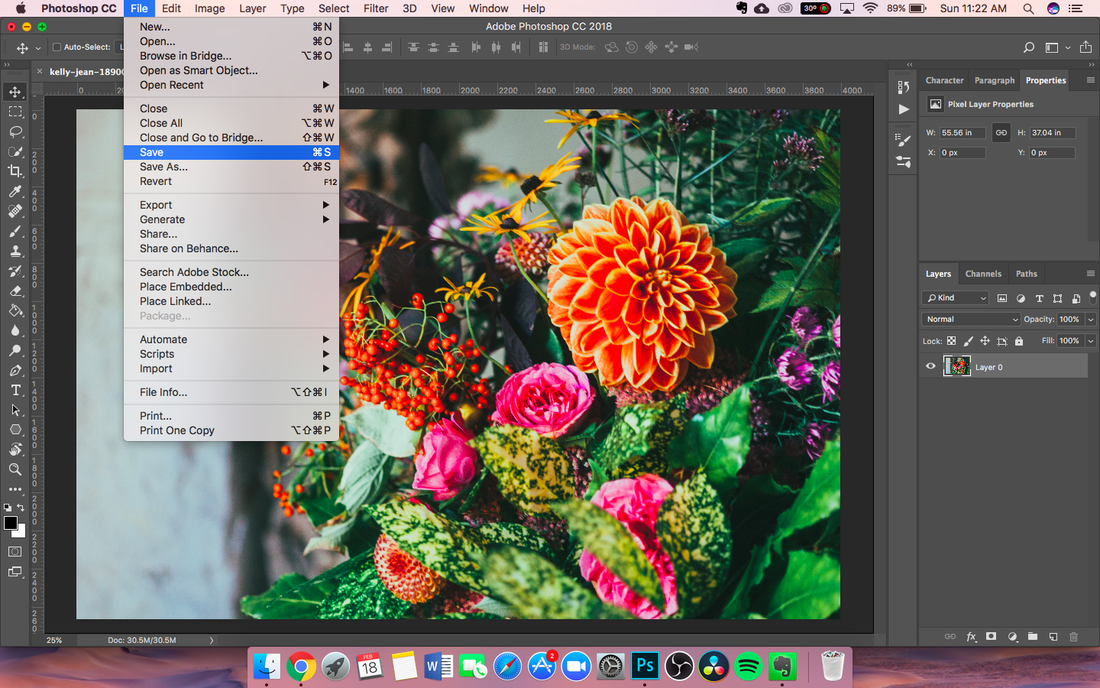
Finally, if you want to save your project, simply press Command/Control + S or using the method shown above to save it. Photoshop files save in the extension .psd, so look for those when trying to find your project.
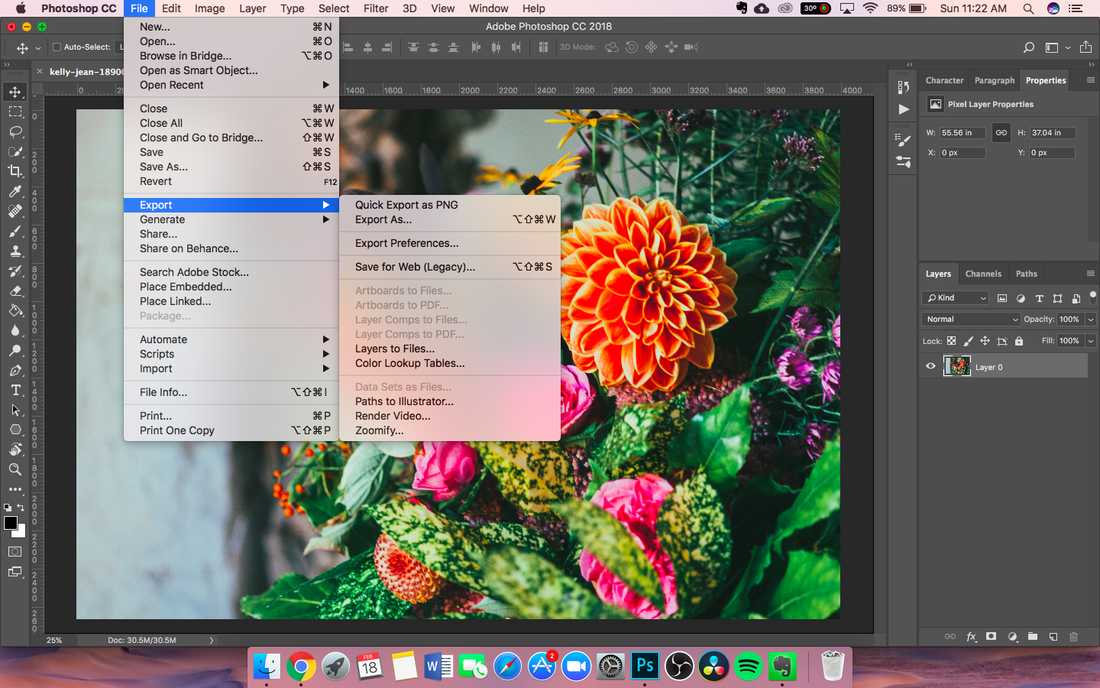
If you want to export your file as a .png, .jpg, and many other extensions, go to File => Export. There, you can Quick Export as PNG, or use Export As... to export it as a different file, such as pdf or a jpg.
And that's how to use Photoshop(a basic guide)! There are so many things you can do with Photoshop, and there are a ton of other guides out there. If you want to improve your Photoshop, Design, Filmmaking, and Photography skills, make sure that you subscribe to this blog to keep up with new posts!
