|
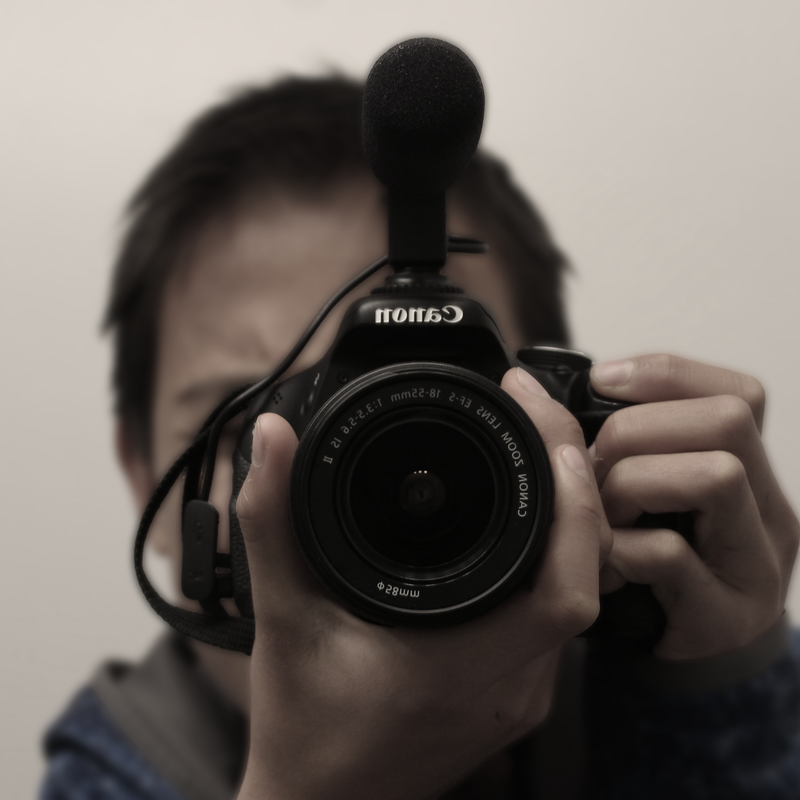
Cameras can be confusing. There are a ton of shooting modes, and so many settings to configure. Today we’ll be going over arguably the most important three: Shutter Speed, Aperture, and ISO.
First, what are each of these things and how do they affect the image taken? Shutter speed is how fast the optical mirror moves up to expose the sensor to light. A slow shutter speed(i.e. 1/5) will produce an image with a lot of lighter, since the sensor measures the light more than if it were a faster shutter speed. A fast shutter speed(i.e. 1/800) will produce an image that’s darker. Aperture is the area in focus. A low aperture will focus on a wide range of things, and thus let in more light, while a high aperture focuses on a spot, letting in less light. ISO is how sensitive your sensor is to light. Camera sensors like CMOS's and CCDs take in light and turn it into electrons to be sensed by the camera, then turned into an image. ISO values tend to double, so values like 100, 200, 400, 800, and so on are common. An image with 400 ISO is going to be 2x brighter than an image with 200 ISO. ISO stands for International Standards Organization. Although the name sounds like a very broad group, it’s actually just focused on ISO in photography. So, how do you use these three to capture the perfect image? It might seem easy, but there’s a method to doing it. The first thing you always want to do is identify your subject and adjust the zoom on your camera. Next, change the aperture until it’s at the setting you want. Remember that a low aperture will focus on a wide range of things, while a high aperture focuses on a spot. The next step is changing the shutter speed. A good guideline is to stay in the range of 1/10 shutter speed - 1/400 shutter speed. If you need a special shot, this can be adjusted, but it’s not recommended as it will make the photo really light or really dark. If you’ve entered a shutter speed value of somewhere in between 1/10 - 1/400 and it still looks too light or dark, then it’s time to edit the ISO. You don’t want to change around the ISO too much, as on lower quality DSLRs/other cameras it will make the image appear grainy. A good rule of thumb is to stay in the range of 100-1600 ISO, only using 3200+ in dire situations. Hopefully these tips should help you take better shots! First, adjust your zoom. Second, adjust the aperture. Third, adjust the shutter speed. Fourth, adjust the ISO. And lastly, take the shot!
0 Comments
Leave a Reply. |
Authori'm a 13 year old graphic designer based in california. i love to travel, play basketball, play video games, eat good food, read good books, and especially love design. my favorite type of design is modern. ArchivesCategories
All
|
