|
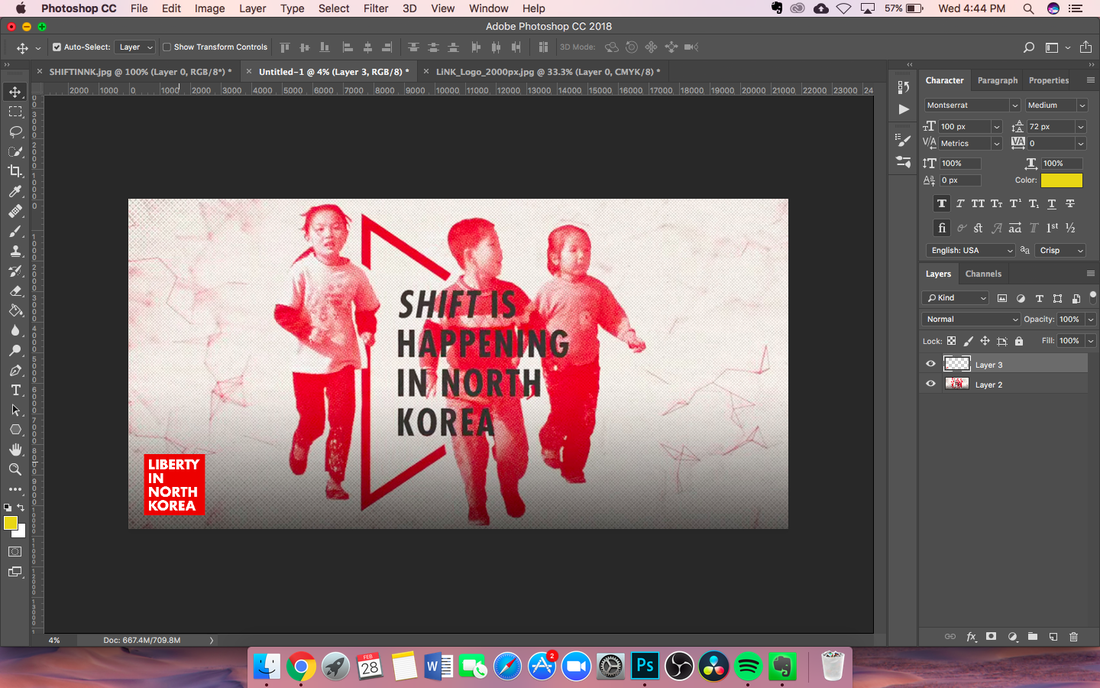
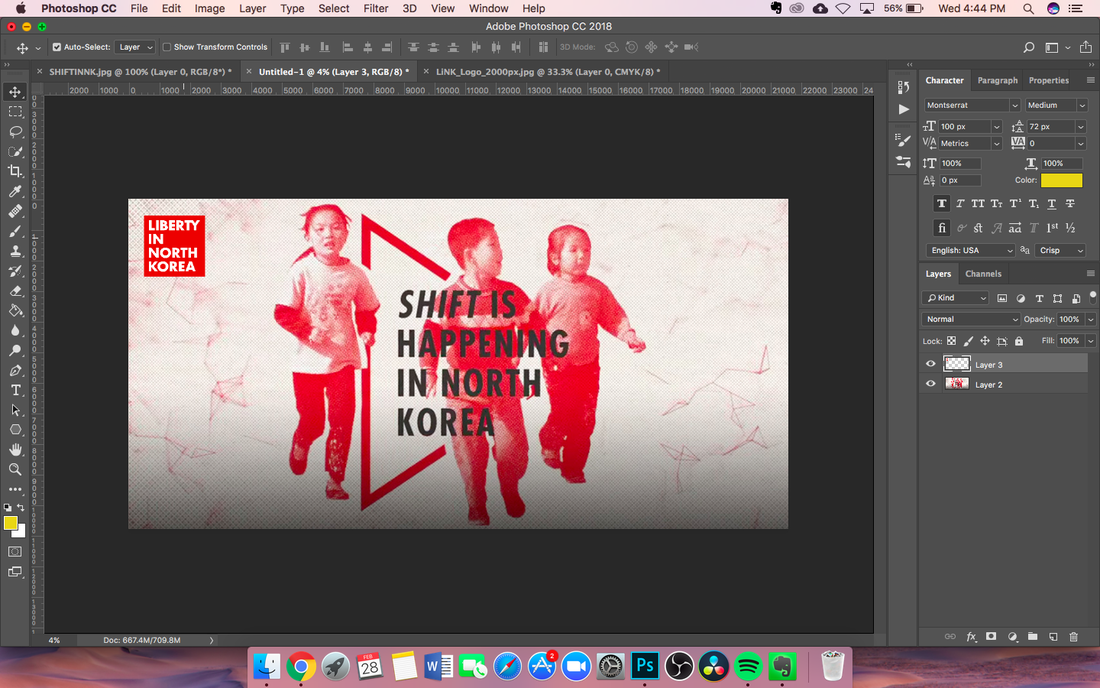
I'm going to be starting a new series of posts: RWD, or Real World Design. These posts will include design in the world, like logos, banners, websites, and more. I'll also include steps for the work I do so you can get a sense of the things I do for companies. Today's RWD topic is going to be on a banner I made for LiNK, or Liberty in North Korea. They are a nonprofit helping refugees that have crossed the North Korean border. You can learn more about them at https://www.libertyinnorthkorea.org/. A while ago I sent an email to the company asking if I could do some free work for them, and I got a reply back saying that people would be emailing me with their projects soon. As soon as I got one, I started working on it. This was from someone who wanted a banner to hang up at a public location to raise awareness. She had an image already that I was to use in the project, and also requested that I add the logo in. Here's the final banner(I just resized it and added the logo): 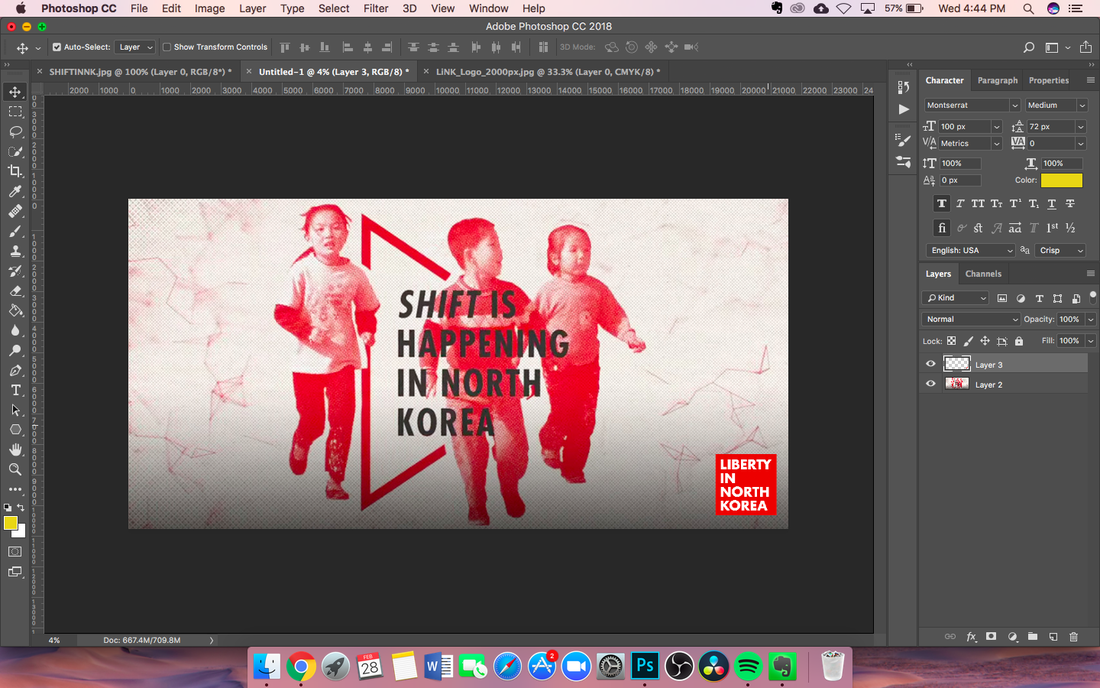 The banner size was so big(6' x 3') that I just took a screenshot of what it [pretty much] looked like. The image in the center was given to me; I didn't even add the text. That was there already. The first thing I did was make a new document and drag the image into it. The image was tiny and not nearly big enough to scale, but I did anyways with okay results. 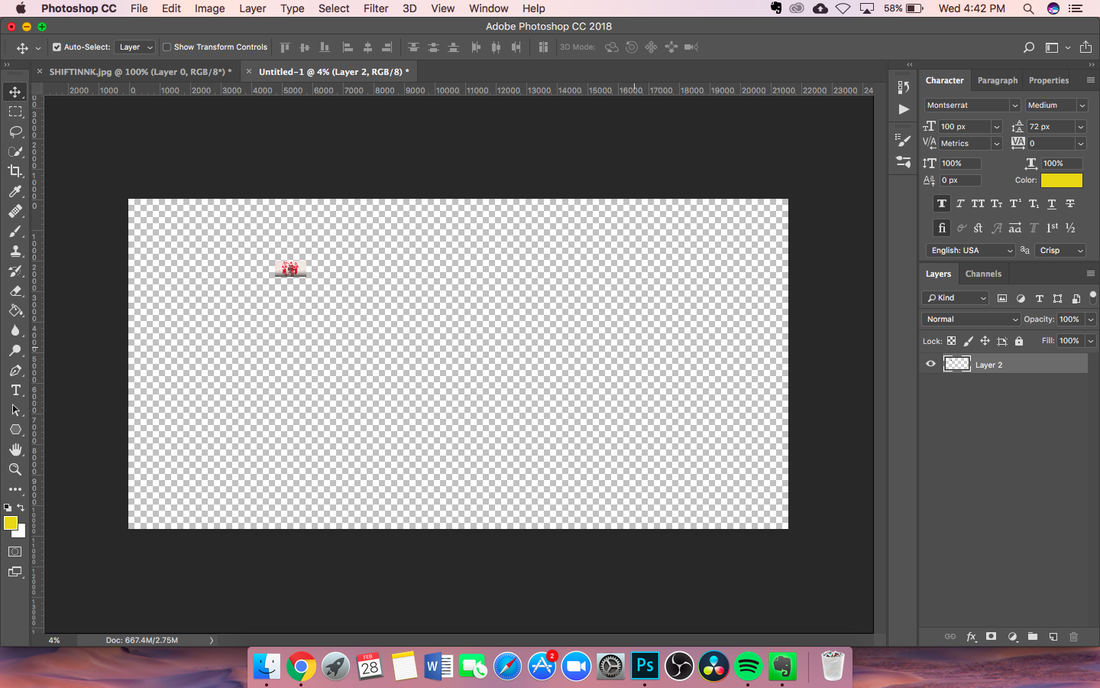 I then proceeded to resize it and adjust it to the correct size. 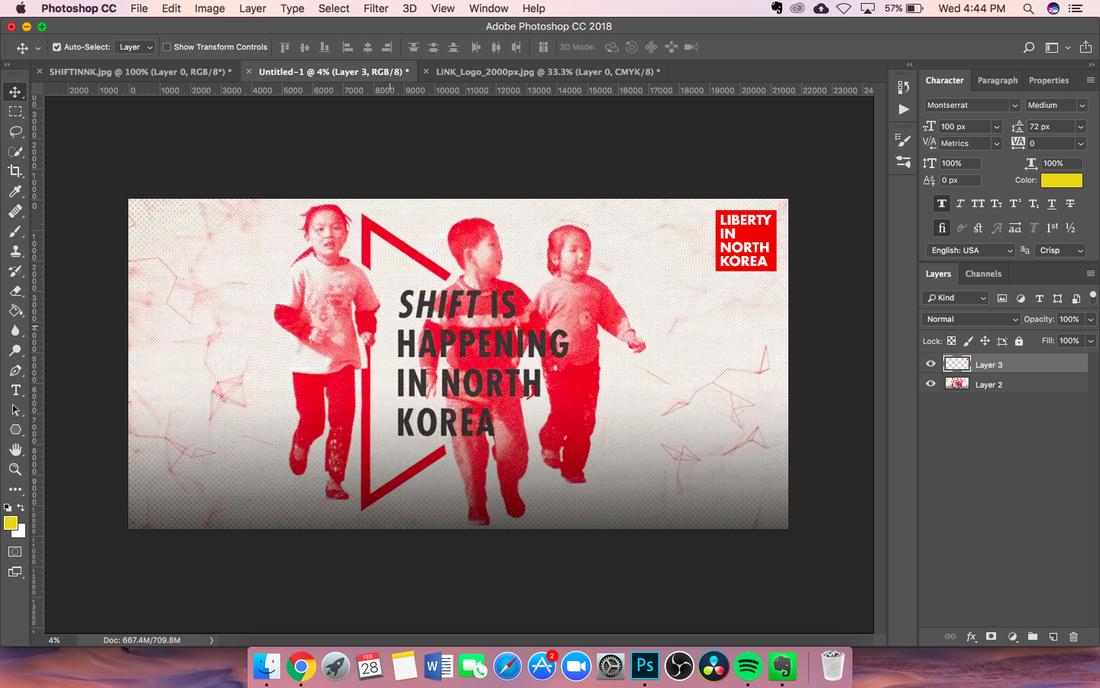 I also grabbed the logo off the internet and added it into the document. The logo was surprisingly big, at 2000px by 2000px. I didn't even have to resize it to make it bigger. Then I had a problem: I needed to decide which corner to put the logo in. I've put the four different images below so you can compare.
The pictures with the logo on the bottom looked the best, so I decided to go with the logo on the bottom right. Top left and bottom right are both good places to put the logo for a clear message. From there it was easy sailing and a lot of waiting. The last thing I had to do to edit the image was to make sure that the logo was equal distance away from the edge of the image. 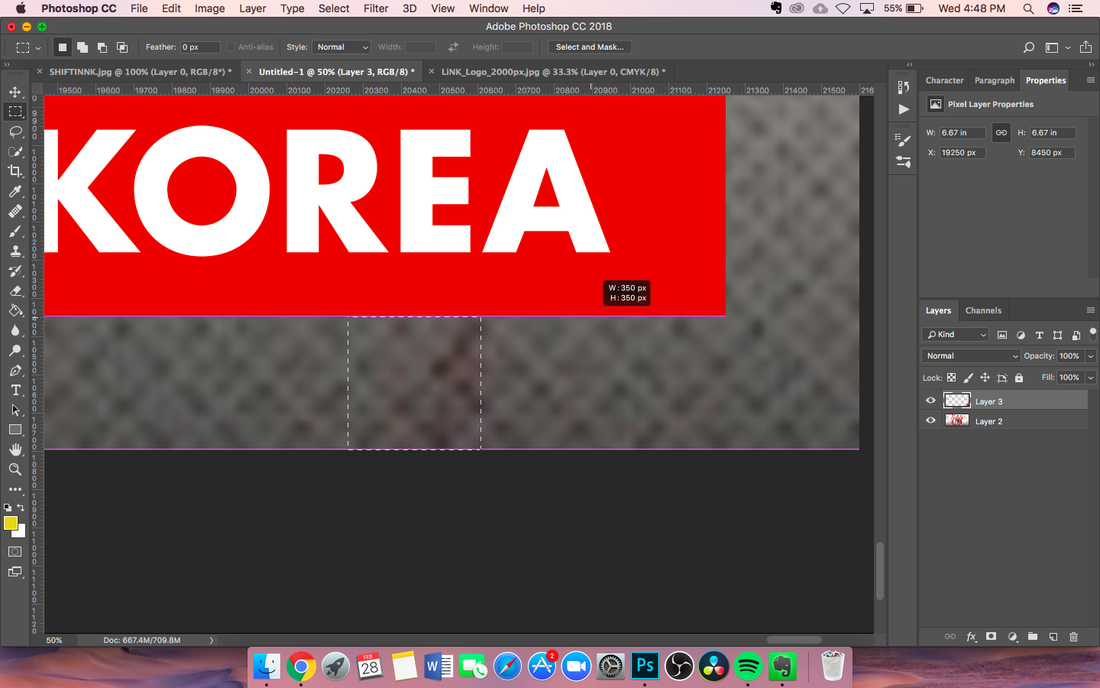 The Marquee tool is a good tool to use for aligning elements when you're not sure if they are. Here, I used it to measure the distance between the edge of the image and the logo. I exported the image in a .pdf file and also saved it as a PSD, just in case I wanted to edit it later. Exporting both of them took about 2 minutes each, maybe a little less for the PSD. 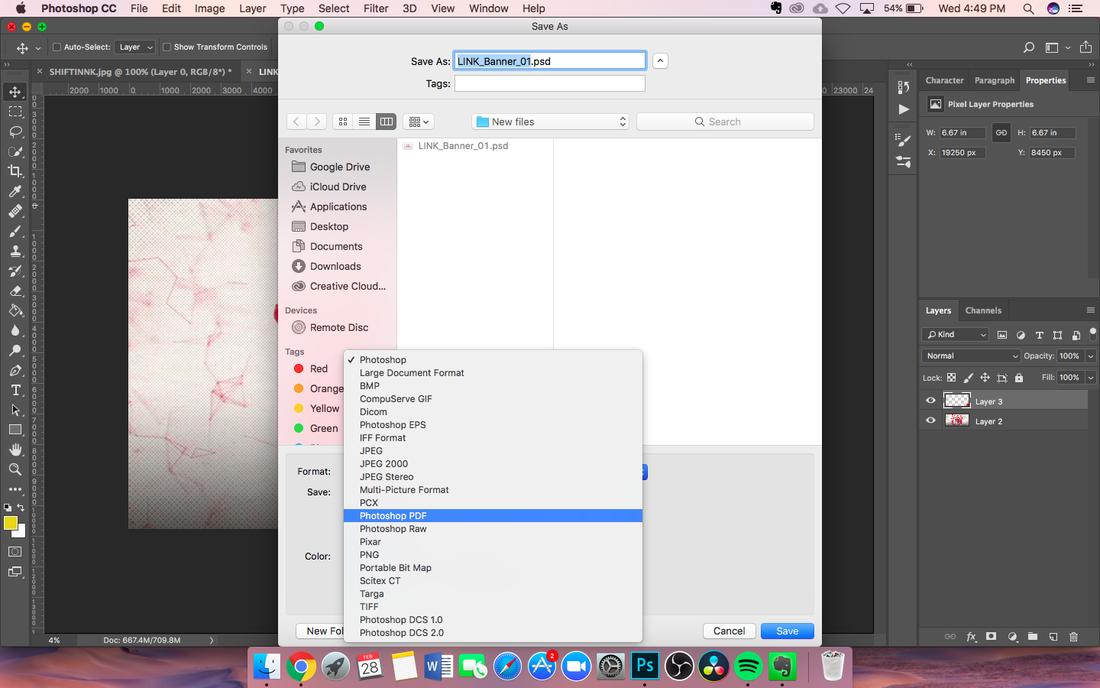 The last thing I had to do was to zip the folder with the artwork and send it over. The zipping took about 5 minutes and uploading it took around 20-30 minutes. 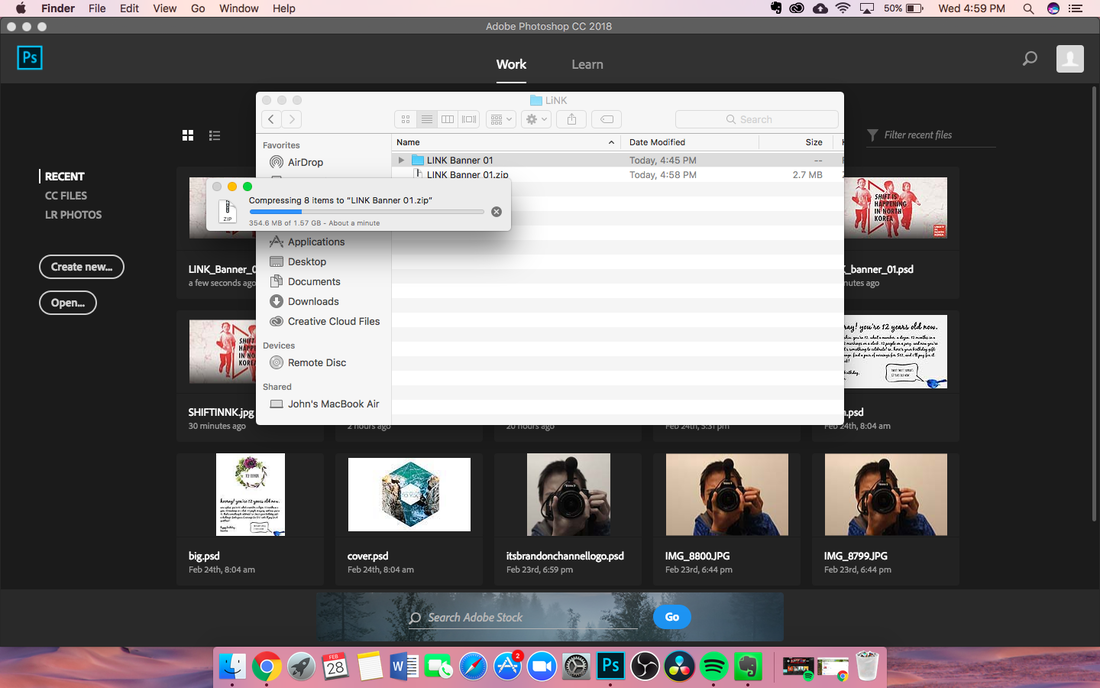 This design project was pretty simple and the whole process of making, exporting, and uploading it took me around 1 hour. Two-thirds of the time was taken up by exporting, zipping, and uploading the files.
More RWD on the way!
0 Comments
Leave a Reply. |
Authori'm a 13 year old graphic designer based in california. i love to travel, play basketball, play video games, eat good food, read good books, and especially love design. my favorite type of design is modern. ArchivesCategories
All
|